GIF frame – software

The software for the animated gif frame, consist of 3 parts.

  1. code for the Arduino, that reads the sd-card and displays it on the ledstrips (main board)
  2. code for the Arduino, that runs the LCD menu (menu)
  3. code on the PC, which converts a GIF into a text file, with the color codes of the GIF.

Arduino sketch

The two Arduinos communicates via the serial ports.
At startup the main board, request the menu for the current settings. (it does this by sending a request_signal)

Serial.write(REQUEST_DATA);       // request for new data    - value is 155

The menu, then sends the settings in the following format

Serial.write(START_SIGNAL);       // 111
Serial.write(loadNext ? 1 : 0);   // next                    - values 0 or 1
Serial.write(menu.mode);          // mode (single/slideshow) - values 0 or 1
Serial.write(menu.repeat);        // slideshow duration      - values 1 to 50
Serial.write(menu.speed);         // speed                   - values 10 to 100
Serial.write(menu.brightness);    // brightness              - values 10 to 60
Serial.write(END_SIGNAL);         // 222

Whenever a change in the menu happens, it will also send this byte array to the main board.
The menu also,saves the changes to EPROM, so that the settings can be restored when power off and on.

Download the sketch + xcode here: GIF frame

PC software

On the PC side, I used this Processing sketch, but I think i really is just Java. Kinda like Arduino sketch is C/C++.
https://github.com/MeULEDs/MeU_Square_GIF_Converter_Teensy

I modified the original code, so I only outputs the color codes, and not the Arduino sketch code.
Here is my version: GIF_Converter.pde
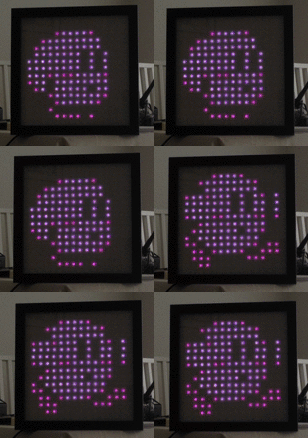
16×16 animated gif frame

I once saw a Kickstarter project, where they made a frame with a animated gif.
So I wanted to try that out.

My main concern, was how a Arduino would read a GIF file, and convert it into a color code that the ledstrip could understand.
Luckily I found this site, which helped me with converting a GIF into a text file containing the colorcodes.

http://www.themeu.net/downloading-animated-gifs-onto-meu/

I customized the code to fit my needs, and coded the Arduino from scratch – actually I coded it twice, as I accidentally delete me sketch during development…
(now I have Carbon Copy Cloner, which backups to my network drive!)

And here is the end result:

animatedGif

Heres a list of the component used for this build – all found and bought through eBay.

  • A square frame (mines from IKEA)
  • RGB LED strip (256 leds)
  • 2 x Arduino
    • One for the running the ledstrip
    • One for the lcd menu system
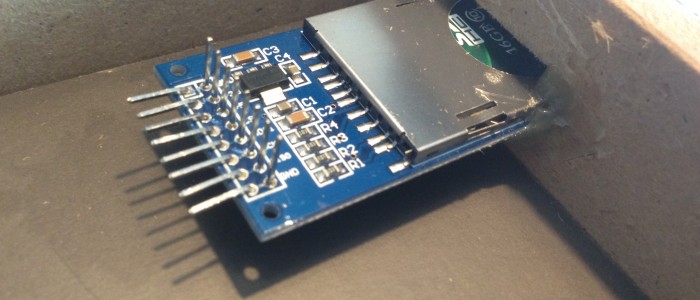
  • SD card reader (and a SD card)
  • Nokia 5110 lcd
  • Power regulator to turn 12V to 5V and 5V to 3.3V (for the lcd)
  • Laptop 12v power supply.

During developing stage, I used an Arduino Duemilanove I already had. But for the finished product, I made “DIY” Arduino from a guide I found online. On afterthought, maybe I could’ve bought a cheap knockoff online, for less money… but where the fun in that 😉

At first I try using only one Arduino, but I ran out of memory, when I added the code for the lcd. It used a lot of memory to store all the characters.
So instead, I’m using two Arduino. And they are communicating via the serial port.

As a side effect of having two Arduino, is that the menu system is quick and responsive, as it does not need to wait for the ledstrip to be processed.

My next plan is to add a ESP8266, so that I can upload a new image file remotely.
But so far I havn’t had any succes using the ESP8266 as a webserver. I can’t get it to run without it freezing.

More about the software later…

  • The LED strip is glued to a piece of cardboard